How to install Solar Anchoring Kits
Power-Tie - How to Install
See our easy to follow steps on how to install Gripple's Power-Tie, a permanent cable tie below. No tools required!
Installation Instructions
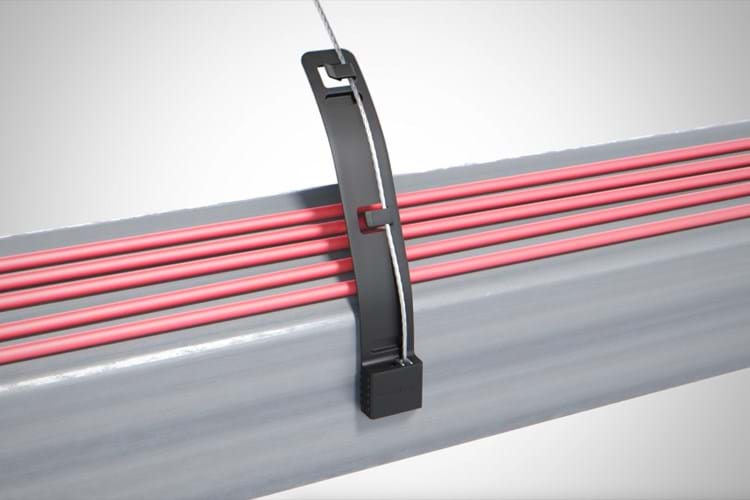
Step 1:
Place the strap over the cables (TIP: ensure that the cables sit between the protection bumps for best cable security).
Step 2:
Insert wire rope into the highlighted entry channel (see arrow) while holding the cables in place.
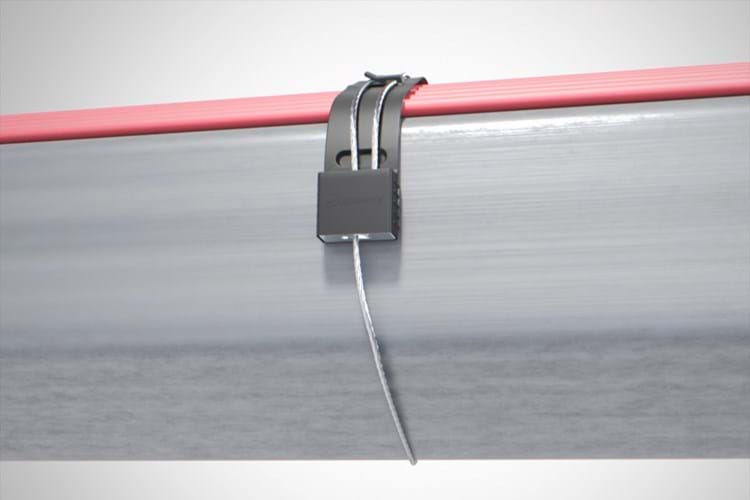
Step 3:
Pull the wire rope tight until cables are secure.
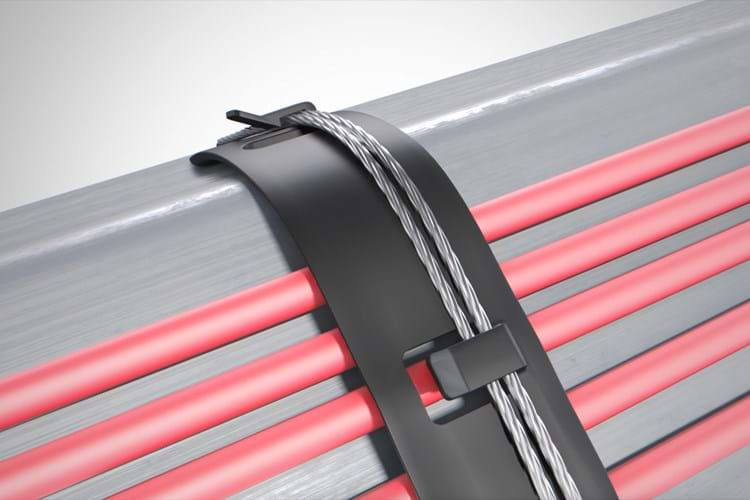
Step 4:
Use retention clips to store excess wire.
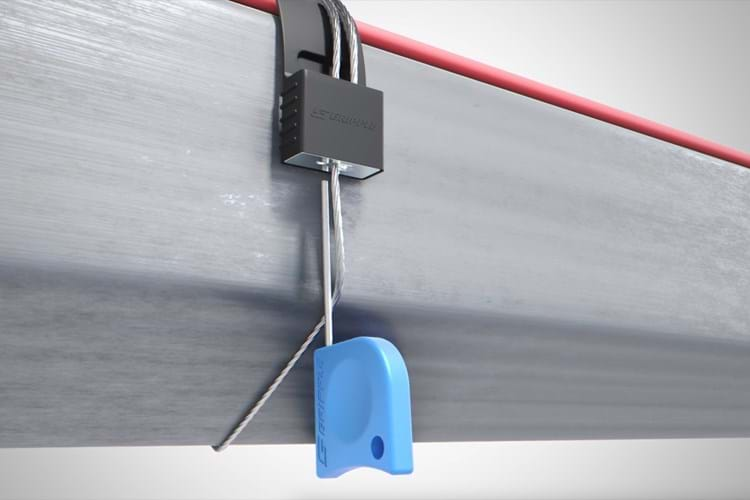
Step 5:
Use the Flag Key to release the Power Tie allowing for adjustment or re-installation.
Why use Gripple?
- Significant time and cost savings on your project
- Complete, off-site solutions which minimise health and safety concerns
- Innovative, patented solutions designed by an in-house team of engineers
- Considerable reductions in packaging, vehicle movements & embodied CO2
- A range of support services at every stage of your project, provided by a dedicated technical team
- Aesthetically pleasing solutions; lightweight and virtually invisible