SwiftLine Rail Dropper - How to Install
See how to install Gripple's SwiftLine Droppers to catenary and contact wires with our easy step-by-step instructions below.
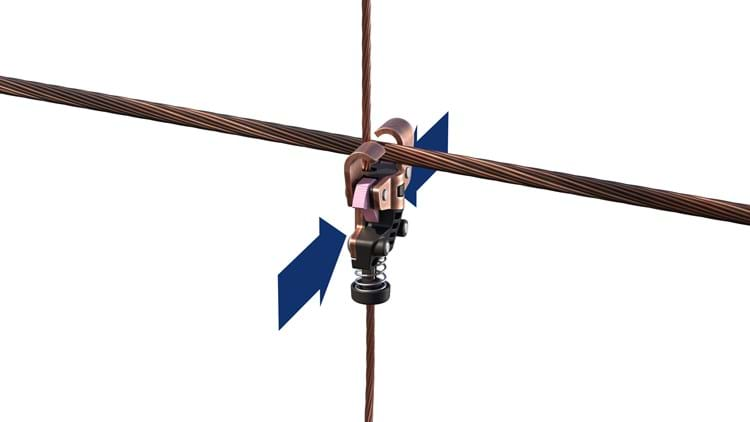
Installation Instructions
Step 1:
Fix the Top Dropper to the catenary wire using a quarter turn nature.
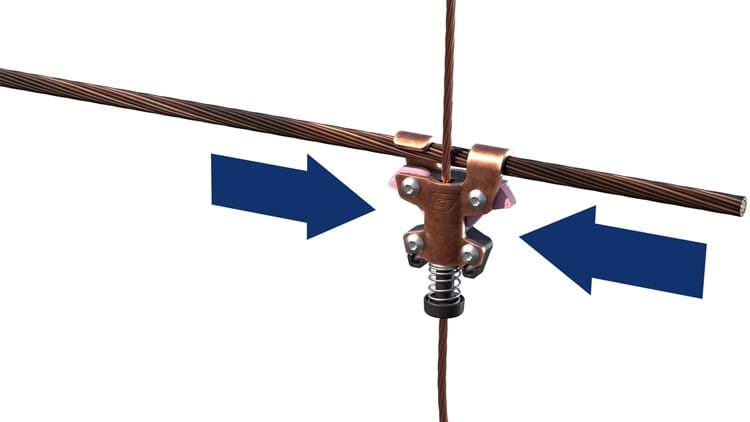
Step 2:
Adjust Top Dropper horizontally by compressing the two CAMs simultaneously (as shown) until it is in the correct position. Release the CAMs to lock the Top Dropper in position.
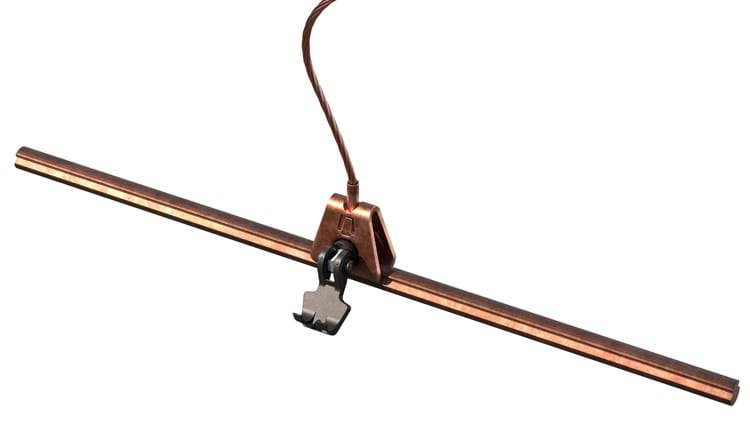
Step 3:
Fix the Contact Clamp to the Contact Wire by placing the Clamp onto the anvil and flipping the lever to apply clamping force. The two hooks should hook fully over the Contact Clamp (as shown).
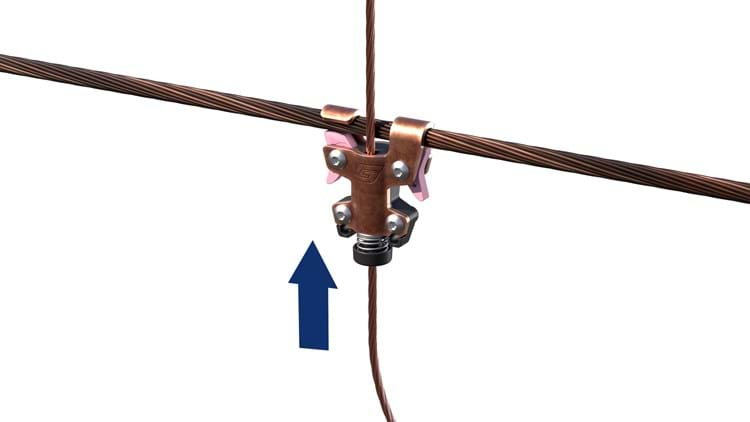
Step 4:
Compress the release button and pull the vertical wire upwards to adjust the length of the drop to the length which is needed (as shown).
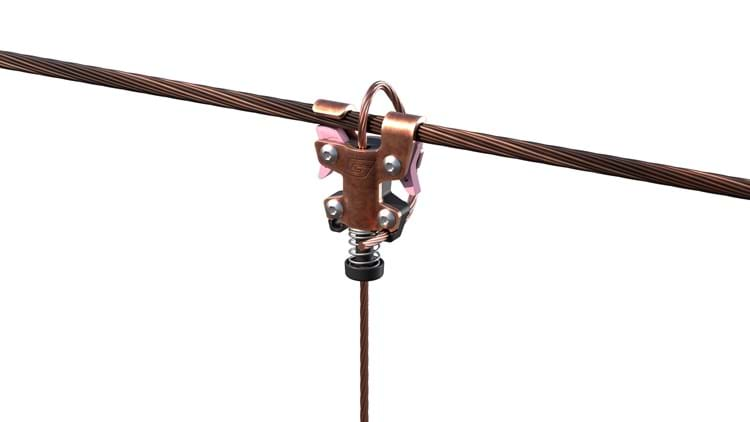
Step 5:
Wrap the excess wire which is above the Top Dropper around to the opposite side of the housing and push it through the lower hole (as shown) to allow it to operate as a fail safe.

Step 6:
Ensure the following checks have been completed:
- Copper hooks are completely engaged with catenary cable.
- CAMS are in the vertical position and are engaged with the catenary cable.
Optional: Fail safe loop is looped over the catenary cable and inserted back through itself. Tail wire exceeding the fail safe hole, should be bent at a 90 degree angle.
Why use Gripple?
- Network Rail Product Approved – Fit for use in OLE applications
- Do more in each possession window – Faster and easier to install than anything else
- Speed up installation and bring forward completion dates
- Right first time – Pre assembled including Auto-Torque clamp
- Simple to use tool free system with minimal training needed
- Work Safer – Spend less time working at height and at night